Ahhh week five has arrived and this means the completion of the GEORGOUS wallpaper install in the office. As with all DIY renovations we did run into one small snag, that I should have seen coming, but such is life.

When designing the office, I knew I wanted to go outside the box with colors and patterns. I think there is a time and place for neutral and relaxing vibes, but I prefer them on vacation and not in my day-to-day space. So I started with the process of elimination and thought to myself what colors have I already used throughout the house? I wanted to use a color in the office that was new to me, but in the same “family.”
HOUSE COLORS:
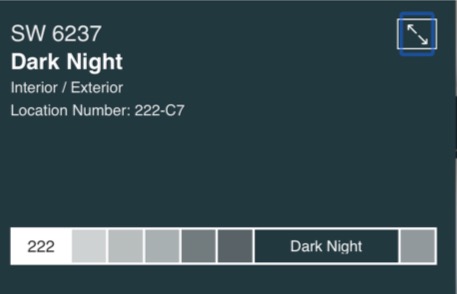
Dark Night – Living Room 24 FT Wall, Main Bedroom, Upstairs hallway half wall
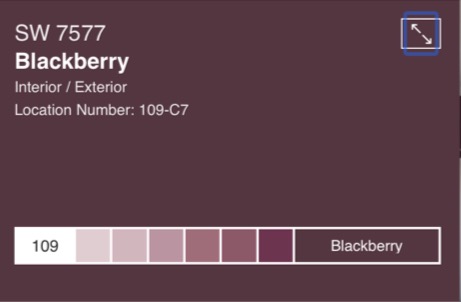
Blackberry – Guest Room
Jasper – Kitchen Cabinets and Guest Room
Black Magic – All Interior Doors and Stairs
Alabaster – Trim, Kitchen Walls, Guest Bathroom, Upstairs hallway
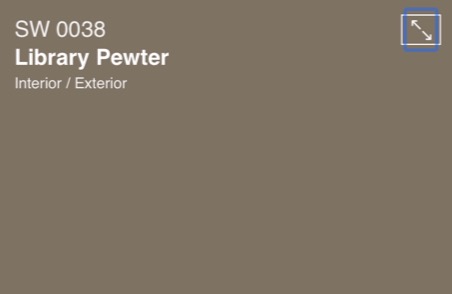
Library Pewter – Dining Room
After making my list I was left with yellow or red. I’m gonna be honest yellow just doesn’t spark anything for me as a room color, but give me pops of yellow all day in décor, fabrics, or even flowers. So, I was left with red and started flipping through my Sherwin Williams Paint book.
I knew I need a deep red to compliment the rest of the colors in the house, and dark red is complemented by navy and gold. Dark red with navy seems like a classic color combination to me. Toss some gold into that and it screams elegance, but also says I like to party. So, what I’m trying to say is red + navy + gold = a mullet, business in the front and party in the back.

I’ve said from day one of designing this house that I wanted someone to walk through the front door and find pieces that are unique and fun to look at, talk about, and even touch. I want the house to feel like it evolved over time with antique pieces, but also not so much so that it feels like a museum. Okay, now I’m getting off track. After I settled on the color Borscht by Sherwin Williams, I knew exactly what wallpaper I NEEDED. I was on the hunt for a navy background with a busy gold design. I had a few other designs catch my eye, and even ordered one from Anthropologie that I ended up returning. When I found Hygge & West I knew I hit the mother lode of wallpapers. I ended up going with the design Diamante Gold, but Forest Floor was a close second.

The wallpaper came in and the quality is amazing. I’ve worked with many different wallpaper companies and install types, and I can honestly say Hygge & West has a very high-quality product. The Diamante Gold comes in a traditional install type, meaning I would need to apply glue adhesive to the back of the paper, use the fold technique, wait 5 minutes and then proceed to install.

Only kicker in my situation is the paper was being installed on the ceiling, with just my husband and I. After applying the first long strip I realized I had made a large error. The paper wasn’t sticking and our arms were quickly going numb. I was using leftover glue from a previous wallpaper install and the glue was rated for LIGHT weight papers. The Diamante Gold paper is medium to heavy and the glue just was not strong enough to support the paper. Thankfully I was able to Amazon Prime a heavy paste and got right back to work.
The heavier glue was smooth sailing, well as smooth sailing as wallpapering a ceiling with your spouse can be. The angles of the room were tricky, and I knew applying a dark color on the ceiling would make the room feel smaller than it already is. After much consideration I still went for it, the room is quirky and I feel like the busy ceiling fits the space.
We also added the chandelier this week and it’s a dupe for a much more expensive version. You do have to add all the glass pieces yourself, but in my opinion the price cut is worth the extra hour it takes to add the glass.

Lastly, this week we finished the crown moulding! Ugggghhhhh I HATE CROWN MOULDING! Let me say it again…I HATE CROWN MOULDING. I went with a small crown because the ceilings aren’t as tall in here as the rest of the house and I didn’t want the room to feel any heavier than it already does. After some caulk and paint the room looks great. The last coat of paint went on the bookcase last night and guys … this room is finally coming together!
Next week we can move the bed back into its corner and the closest door makeover begins! Stick around and see what else I have up my sleeves. Check out what the other designers have been up to this week right here -> ONEROOMCHALLENGE!


Comments